
We know there are many things at the beginning , so lets do small list of tasks:
-
- Overview: Open the box and check all the content , be sure everything you order is there.
- Installation: Fit the Magic Pod to your mast by hand (dont screw it) to check if everything fits correctly , you can follow the specific guide here https://www.flow-custom.com/magic-pod-quick-start/
- Check how the leash works in case you want to use it into back pack, or install the box on the board .
- Remove the Rotor of the motor pulling straight, to know how it works.
- Install the batteries inside the box to be familiar with it, the batteries fits a little bit tight , needs to know the technique (THIS IS ONE OF THE MOST IMPORTANT STEPS, IF BATTERIES ARE WRONG INSTALLED YOU CAN GET WATER INSIDE!!), the box have to close without force close by hand instead of using the clicks, if is ok use the clicks and red velcro provide as extra safety. ALWAYS Disconnect the batteries from the Box after a session.
- Turn on the remote controller, check everything is working fine, (new v3 remotes have “lock” trigger , to unlock press brake trigger for few seconds.
- NEVER Spin the motor on dry for more than few seconds and NEVER full RPM
- If you are using Foil Drive 3 blade propeller Install it following the QR instructions from Foil Drive, glue the thread of the screws, and glue the head of them to the pod (There are having a lot of problems due unscrew , screws broken….loose blades, and we cant offer any Warranty for that. ) ( Don´t install or touch motor or propeller with batteries connected , even with the remote on lock mode)
- Every time at the beach: Doble check box is close correctly , submerge the box for few seconds turn upside down (clear part down) to see if there is some water inside, if is ok lets go for a session!
- NOTE : 99% of problems are caused by user mistakes, people go fast to the beach and wants to go fast for the session, it takes 1 minute to double check everything , remember YOU ARE INSIDE THE WATER WITH BATTERIES AND ELECTRONIC!!!, fails by customer negligence are NOT under Warranty !!
-
-
Main Menu:
- First Time Setup
- Box Board Mount
- The Magic Pod
- Smart Charger V1
- Smart Charger V2
- Smart Fast Charger
- Batteries
- Remote v3
- Remote VX3 GPS
- Maintenance and Cares
-
- All the videos have multi-language subtitles, 1.Settings/subtitles/spanish autogenerate 2.Settings/subtitles/Auto Translate/select your language
-
-
First Time Setup
Box Board Mount
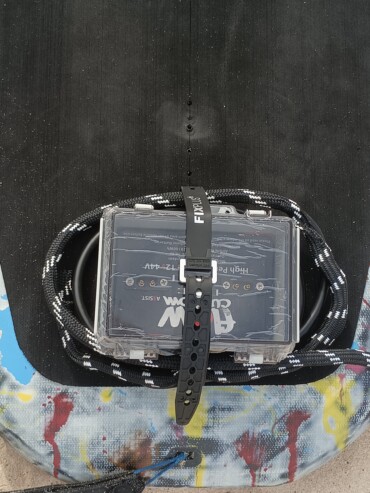
Front board Mount:
Fix the strap to the inserts.
Fix the cable at the board rail.
Adjust the strap to hold the box and the cable exceed.
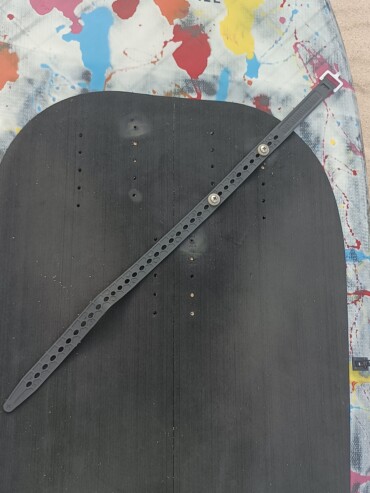
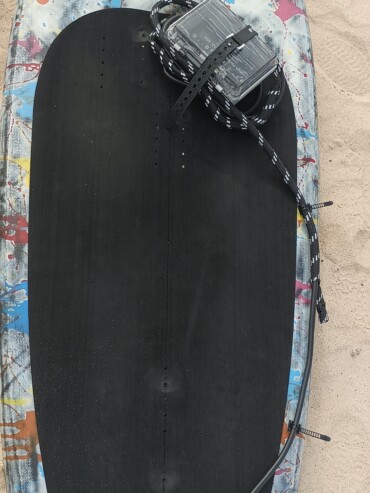
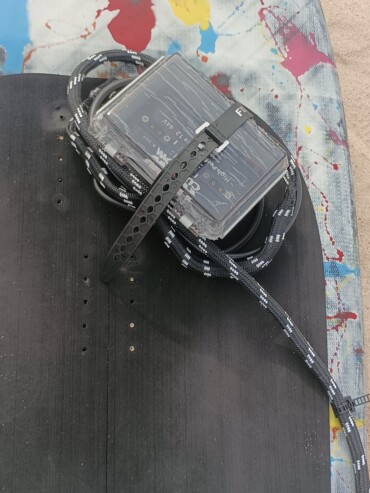
Tail Board Mount:
High volume board are suitable to install the box at the tail.
Note if the box sinks you may loose the signal at the remote.
Follow the same procedure to fix the box
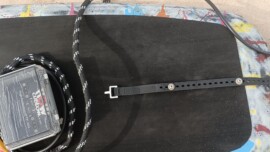
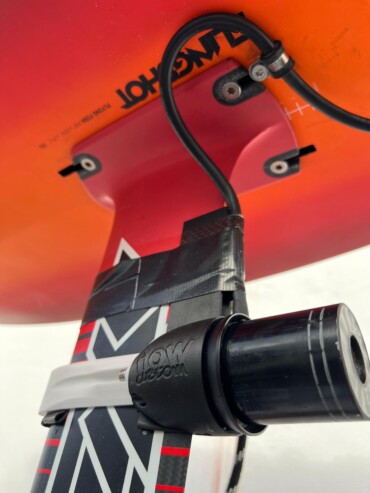
Secure the cable at the foil mast track using a T nut and the stainless steel strap provided, to avoid pulling unintentionally from the motor.
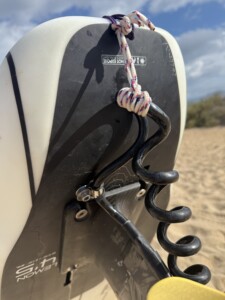
- Secure the cable to the board leash plug.
The Magic Pod User Guide:
CLICK HERE TO DOWNLOAD PDF
Smart Charger V1
Smart Charger V2
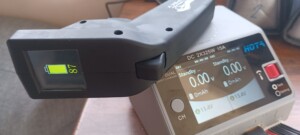
New V2 Charger allows to Wireless charging the remote controller.V2 Version allows you to use different Input power supplies , AC 220v or Direct DC 12-30V
Using AC 220v Input (typical use at home with ADP200 or direct to AC220) the charging is limited to 200w, charging parameter must be set to 4,5A max per batterie.
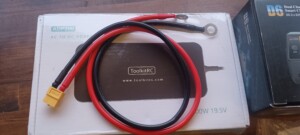
Using DC 12-30v Input (typical at Camper Van or similar) connect the provided cable to + and – to your power supply and the yellow end connector to the charger, this mode allows to charge faster, recommend dont exceed 1C : ( 6500mah battery max charge 6.5A, 10.000mah battery 10A…..)
Smart Fast Charger
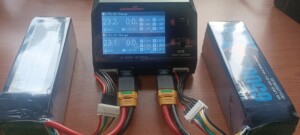
1- Connect the batteries to the charger using yellow adapters and balance cables.
2- Overview:
Be used to check the voltage of each cell (6 cells per battery) is just a fast look , be sure always the 6 cells are displayed at the charger on each channel, all the cells must have a pretty close voltage as image above shows.
3 – Charging:
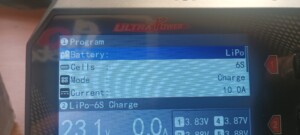
Please always set:
Battery : Lipo
Cells: This is auto but should be 6s
Mode: Charge
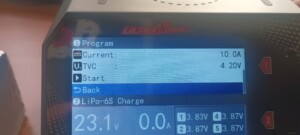
Current: 10A (the fast charger can charge up to 8A per channel, so setting at 10A is easy to remember and it would stops at its maximum of 8A)
TVC: 4,20V IMPORTANT parameter , 4,20 is the limit of charge of a lipo battery, if overcharging the battery can be destroyed and unusable.
Click StartRepeat the procedure with channel 2, the parameters will be auto the same at. channel 1, so just have a look and click start.
The display will become blue showing some charging parameters, when screen becomes green the charging is done.
4 – Storage:
All our smart chargers have Storage mode, who is not familiar with lithium batteries any lithium battery must be store a certain voltage (3,7-3,9V) we call this “stable voltage” and you can keep the batteries for long time without problem:
Please only charge the batteries if you are gonna use it.
Dont keep the batteries charged 100% for more than 1 day, if you dont use them, please discharge to “storage” with the charger.Please always set:
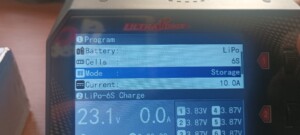
Battery : Lipo
Cells: This is auto but should be 6s
Mode: Storage
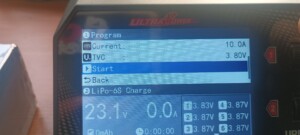
Current: 10A (setting at 10A is easy to remember and it would stops at its maximum)
TVC: 3,80V IMPORTANT parameter.
Click StartRepeat the procedure with channel 2, the parameters will be auto the same at. channel 1, so just have a look and click start.
5 – Wireless Charging:
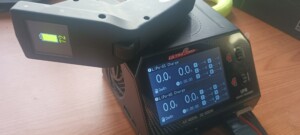
Yes our new chargers can also Charge Wireless your remote, so no more charging pad needed, just find correct postion of the remote over the charger to start charging.
Batteries
Please follow the next recommendations about battery cares and maintenance to keep them healthy longer.
1- Always remove disconnect the batteries from the box after a session or if you are not using the gear, leaving the batteries connected to the box will dry them not allowing to be recharge anymore, this is caused because the Bluetooth connection for the remote remains always ON.
2- Dont keep the batteries full charge for more than one day, otherwise it can be damaged, every charger have “storage” option which keeps the correct voltage (3.8v- 3.9V) to store safely your batteries.
3- Dont keep your batteries with low voltage (after a session) , if you are not gonna use the gear soon, please recharge them to “storage” mode.
4- The batteries voltage per cell must be between 3,5v to 4,2V, you can check it at the charger once the balance cable is connected , ALWAYS check the voltages before and after charging, if some value is out of this range means something went wrong. Example 3.2v, 4.3v…..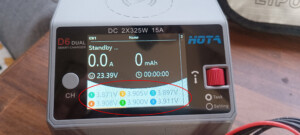
5- To understand how the chargers works: The fast charge is the main process of charge, the current flow goes through the main cables (thick ones), once the fast charge is done is displayed at the screen, but sometimes the batteries are not full charge correctly , in this moment the slow charge starts giving charge though the small cables individually to each cell, you must note the 6 cells have the same value.
6- If you notice your cell unbalanced ( 3.6V , 3.8v, 3.5v, 3.9v, 3,6v, 3,9v) pls find the “Balance” option at the charger and do slow balance charge to equal every cell, (you can choose the voltage 3.9v-4.0v is good)Remote V3 User Manual.
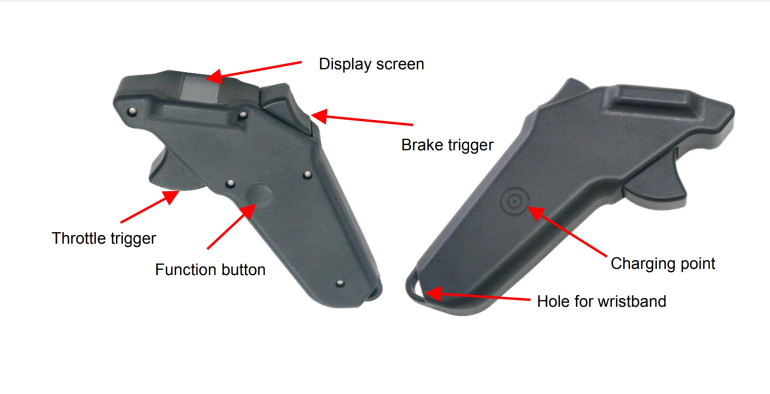
How To Pair the Remote: (the remote is linked to your box from factory, but sometimes you must have to link them again.)
– Batteries may be disconnected at the box
– Turn on the Remote (long press ON button)
– Go to menu (hold brake trigger and click ON button)
– Select “pair” , Long press On button, when “pairing…” is displayed connect the batteries
– Connect the batteries at the unit, the remote must go to main screen.How to change the time of Trigger AutoLock:
– Go to menu
– Short clicks with ON, until remote display shows “Throttle lock”
– Long press ON
– Click on button to adjust the seconds
– Long Click ON to confirm
– Press brake trigger to go back to main screen.Important notes:
– When remote battery shows 2 bars it needs to be recharged (if battery goes to 0% the remote may not charge again, and needs to be replaced)
– Dont leave the remote charging more than 4 hours.
– Always submerge the remote and shake it with fresh water after every use.Remote VX3 GPS User Manual.
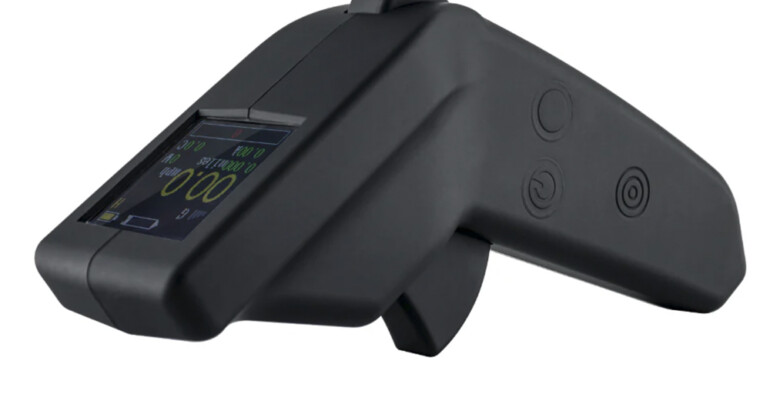
Remote VX3 GPS
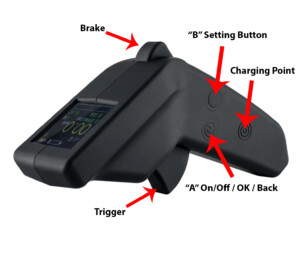
How To Pair the Remote: (the remote is linked to your box from factory, but sometimes you must have to link them again.)
– IMPORTANT!! Batteries Must be DISCONNECTED at the box before start the pairing process.
– Turn on the Remote (long press A)
– Go to menu (long press B)
– When “pairing” is displayed , Long press B
– Connect the batteries at the unit, the remote should show “Pair successfully ”
– A button to go back to main screenHow to change the time of Trigger AutoLock:
– Go to menu , (long Press B)
– Short clicks with B, until remote display shows “Autolock Time”
– Long press B
– Use trigger or brake to adjust seconds at your choice.
– Click A to confirm
– Click A to go back to main screenImportant notes:
– When remote battery shows 2 bars it needs to be recharged (if battery goes to 0% the remote may not charge again, and needs to be replaced)
– Dont leave the remote charging more than 4 hours.
– Always submerge the remote and shake it with fresh water after every use.Maintenance and Cares
The good maintenance and cares of the gear is really important to preserve it well.
– Before session:
Always double check all the screws, specially the propeller ones.
Check the motor is spinning well and smooth.
On case of using backpack check the leash is well trimmed.
Close the box , submerge into the water and check any water filtrations.– After Session:
Disconnect the batteries from the box.
Remove the rotor of the motor, by straight pulling.
Rinse and submerge rotor, motor, and remote in fresh water, and let it dry.
Spray Wax Film protector provided at the motor and rotor, (Fluid film, wax film….spray lithium grease also works if you cant find anything else)
Keep the box open to allow humidity and condensation due to dry