
How to install the Propeller:
- The Propeller is usually shipped un-screwed to the the Rotor, (If you receive it screwed remember to un-screw monthly for maintenance adding grease or tef gel to avoid galvanic corrosion)
- Please Assembly together as showed:
- ( IS NOT NECCESARY TO REMOVE THE BLADES TO INSTALL THE PROPELLER) , the blades are screwed and glued from factory for better long lasting, however it can be replaced and the tool is included, but is not necessary or recommended for first time assembling .
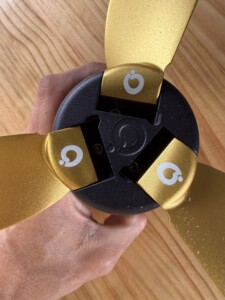
- Align the 3 screws with the rotor threads
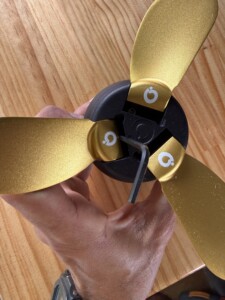
- Start by screwing the Left screw 4 times 360º clockwise, continue with top and bottom ones (4 times), Go back to left one, and complete the screwing, complete the screwing of the top and bottom ones.
The Blades usually are shipped well cleaned, however is always a possibility that were shipped straight form factory and possible have rests of the anodized process that can create cavitation under use, usually it will remove it self after on or 2 sessions, but you can also clean the surface with alcohol if you experiment that issue. NOTE cavitations can comes from different points, blades, wire, pod, even the electric tape wrapping the wire and mast.
Hoe to Replace the Blades:
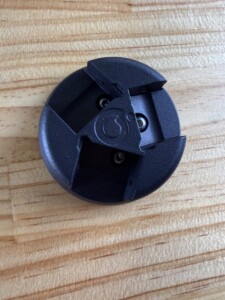
Install the 3 m4x10 bolts into the hub.
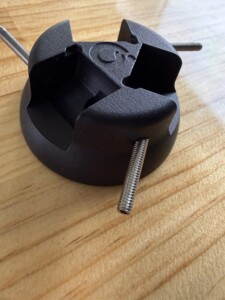
screw by hand the 3 axis bolts, just one side to be able to insert the blade.
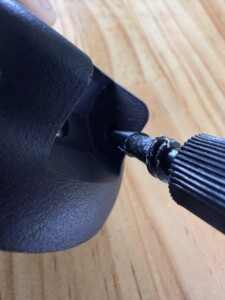
Use a bit of instant glue at the hole opposite.
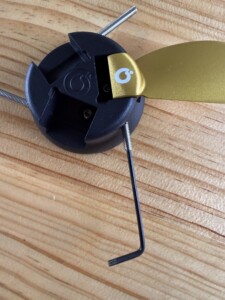
Align and insert the prop, keep screwing the axis bolt , (dont overtight !) the axis bolt head must be 2 mm inside, you can feel resistance when the bolt arrives to the maximum .
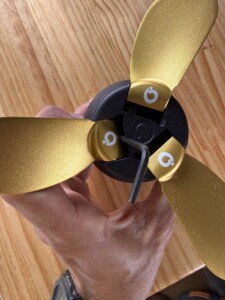
Do the same with the rest of the blades. then screw the hub to the Rotor (always use tef gel or nautic grease between the hub and rotor).